


Enhance Quality of Life
Our Passion Is Helping You Look & Feel Your Best

Excellence In Service
Our Commitment To Favorable Results Is Unmatched

Patient Care + Affordability
Offering Effective Care & Numerous Payment Options
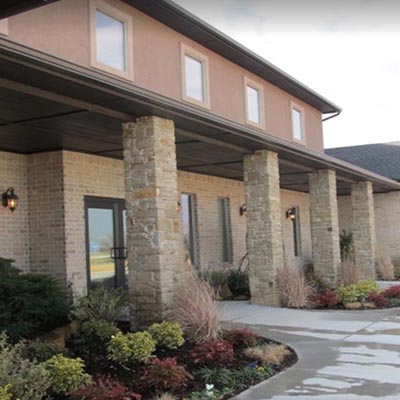
Welcome to
Dental Arts Center
We continuously strive to help each person reach and maintain their dental and aesthetic goals.
12+
YEARS OF EXPERIENCE
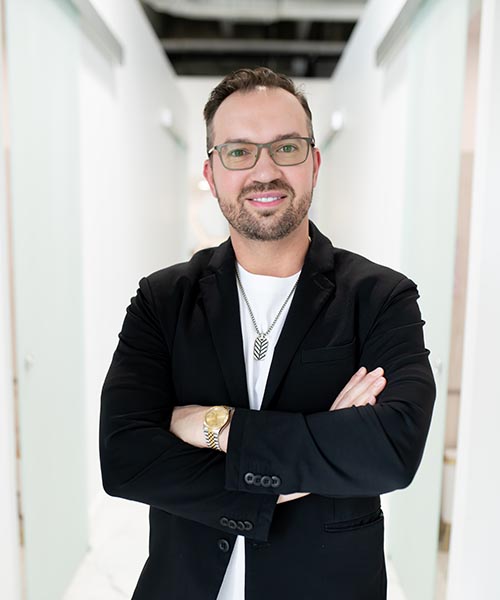
Our practice here at Dental Arts Center is led by the vision and expertise of Dr. Edward “Eddie” Lorents. Dr. Lorents’ career in dentistry began when he graduated from the University of Oklahoma in 2012 with a Doctorate of Dental Surgery (DDS) degree. Driven by his passion to make a substantial difference in the lives of those he serves and his community at large, he then embarked on a career that encompasses advanced dental care, innovative medical aesthetic procedures, and academia.
It is from the culmination of these goals, desires, and ambitions that the Dental Arts Center, Sculpted MedSpas, and the Lorents Group was founded and have become the sought-after entities that they are today. Whether you come to us as a dentistry patient, aesthetic client, or you’re a fellow dental professional looking to fine hone your skills, you can rest assured knowing that every service we offer is shaped by our passion to help you succeed and become the best version of yourself!
REACH OUTour difference DENTAL ARTS CENTER
Often times, the difference a group of professionals has to offer is better experienced than expressed in writing, but we’ll do our best to describe what patients have told us about how we differ from other dental practices. They mostly say it’s all about the positive energy and feel-good vibes, the compassion, the quality of care they receive, and the fact that we stand behind all of our dental work – going above and beyond to ensure impeccable results and satisfaction. This type of provider-patient relationship is a win for everyone, as we’re as happy about what we’ve accomplished as the patient is about their result! In effect, many of our patients have been with us since the very beginning and have become a part of our extended family. We hope you’ll choose to be a part of this amazing concept we’ve created as well. We welcome you and are here to serve you – today, tomorrow, and for life!
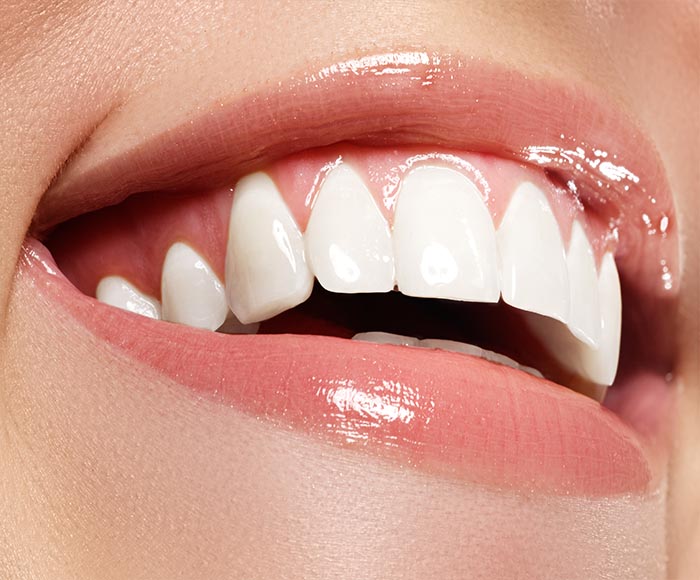
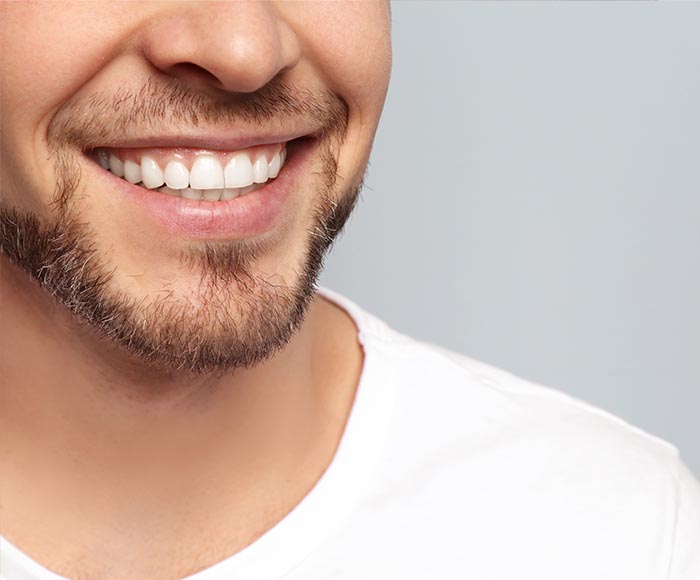
CONTACT USUpgrade Your Smile
Get our FREE recommendations
quote today!

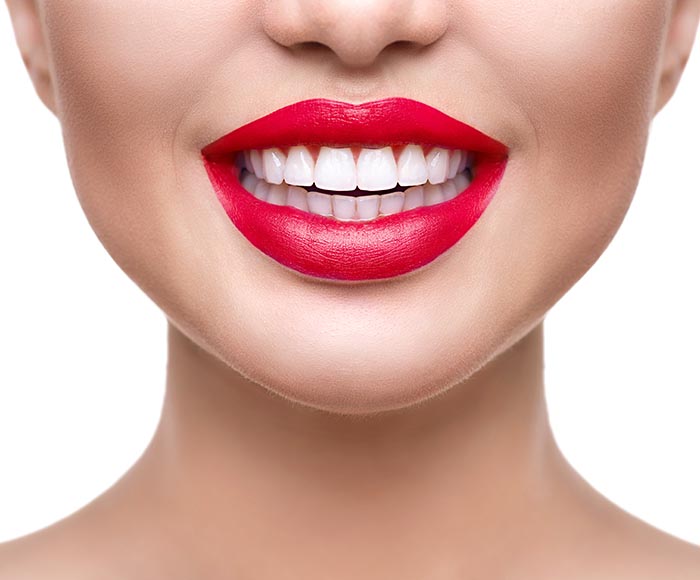
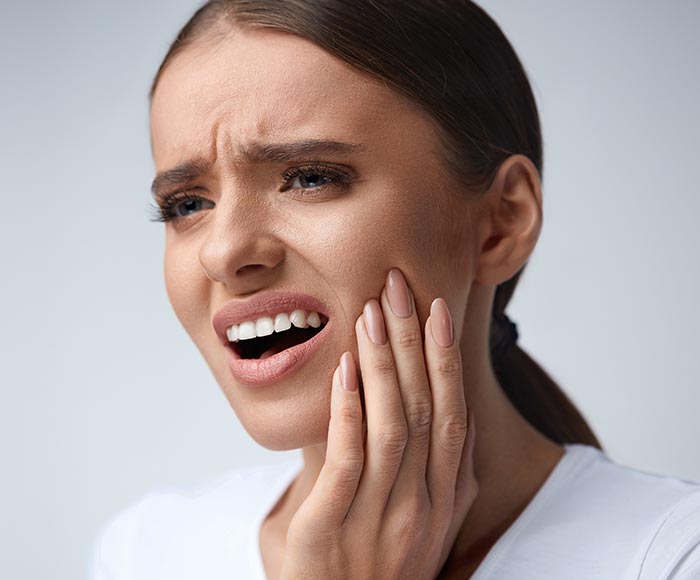
Is it your goal to improve your smile? Are you dealing with a dental concern?
Have you ever wanted to ask a dentist what you could do to improve your smile? Now you have the opportunity - without having to come in for an appointment! Simply upload some photos, and we’ll be in touch with professional recommendations and an approximate price quote!
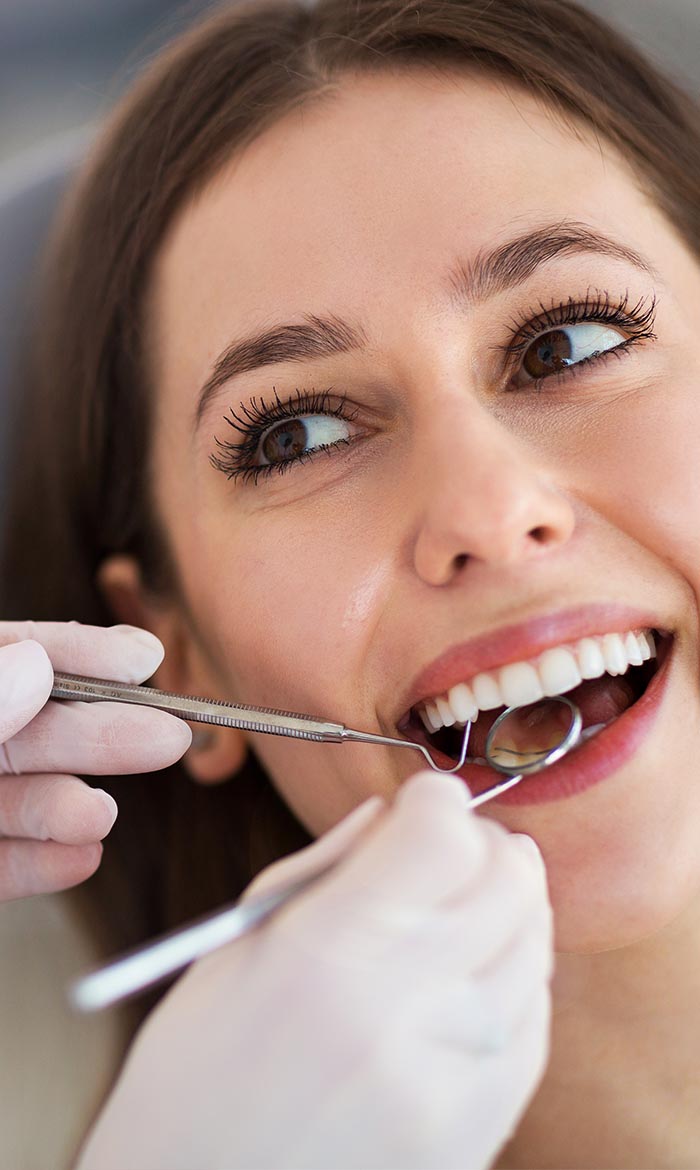

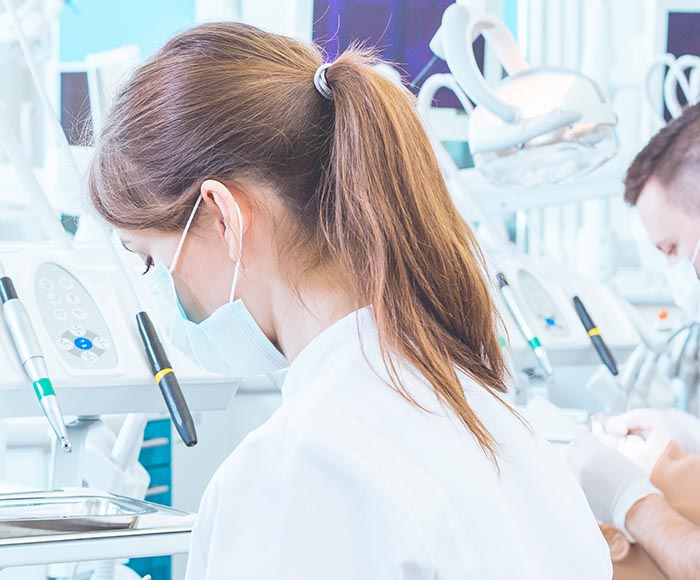
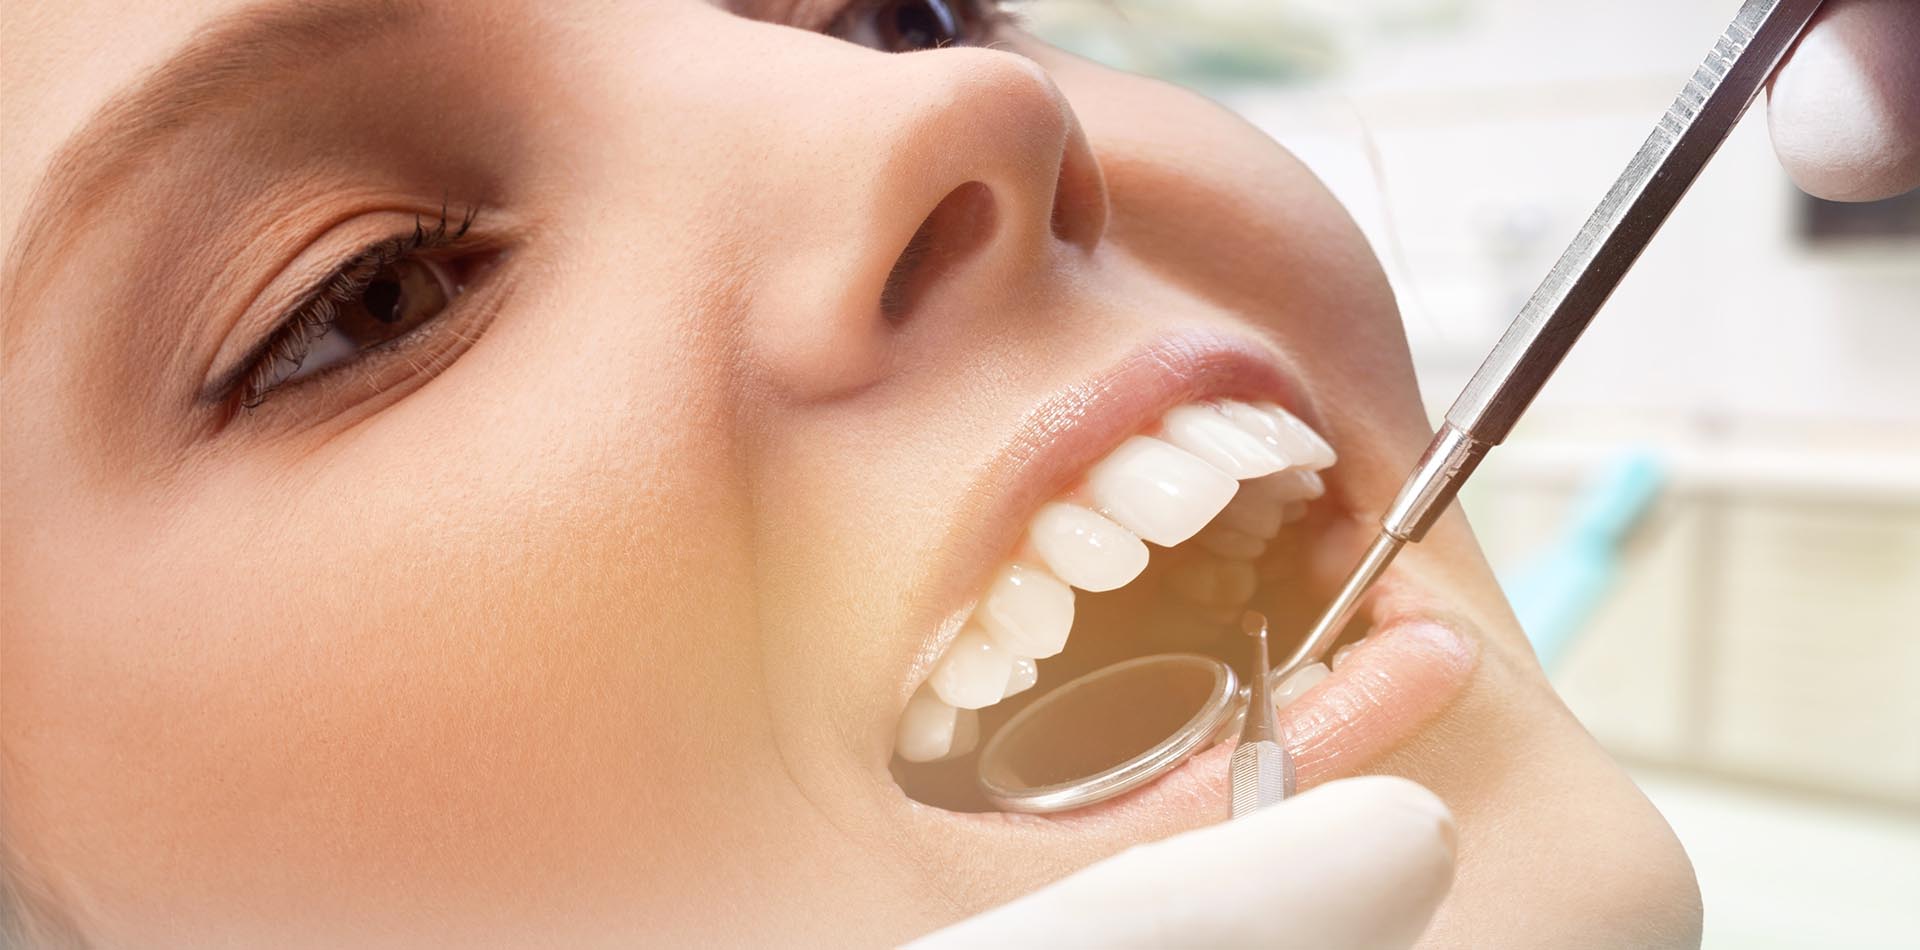
Modern Restoration Dentistry
Our highly-trained dental experts at the Dental Arts Center are leaders in the complex field of restoration dentistry. We offer the most comprehensive digital and hands-on dentistry services, including 3D CBCT evaluation and advanced digital restorative technology. Dr. Lorents also ensures meticulous patient care with an in-house dental laboratory. His skill set and control of the process of creating artificial teeth enables him to excel in restorations and provide impeccable results to patients.
Advanced Expertise
Dr. Lorents has placed and restored thousands of implants, drawing on his expertise in dental anatomy and 3D CBCT treatment planning.
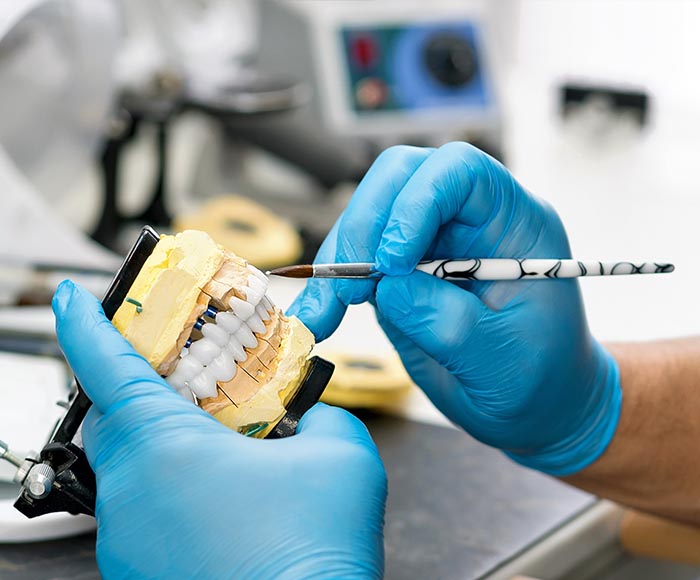
Quality Assurance
Having our very own in-house laboratory provides us with essential design oversight, process control, and enables us to ensure beautiful results.
Implant Experts
As a leader in his field, Dr. Lorents co-founded the Wehrle Immersion Implant Course to train other dentists on implant planning and surgical techniques.


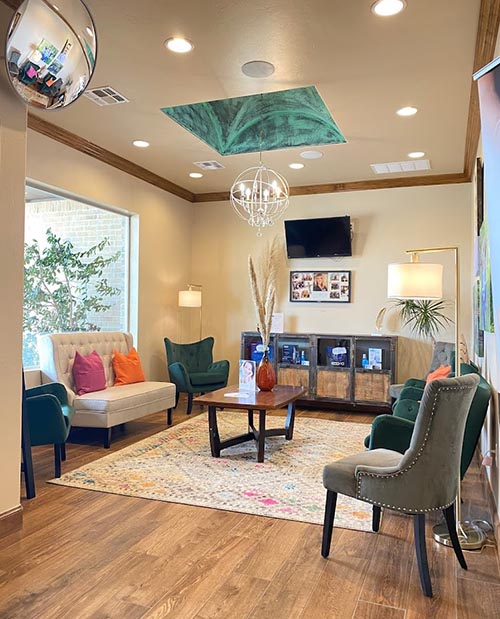
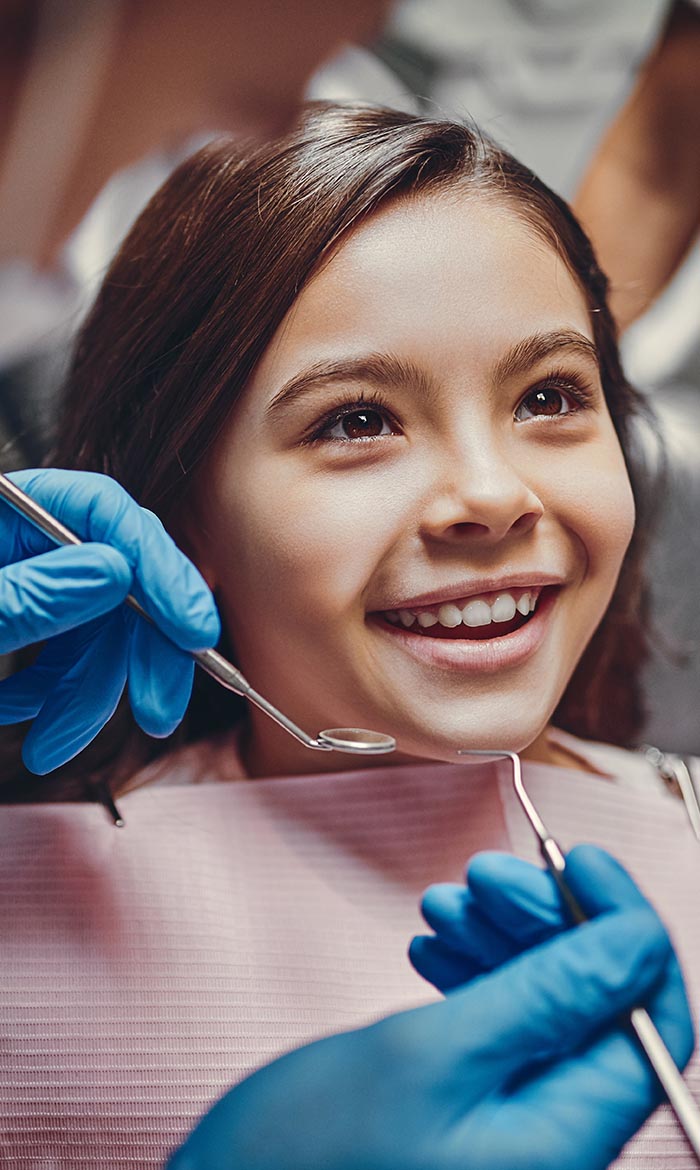
Become A New Patient
We welcome new patients for general, cosmetic, and restorative dentistry. At Dental Arts Center, you will never feel like a number. Our patients are welcomed with open arms and become extended members of our own family. We pride ourselves on getting to know you as a person and a patient, always being aware of your oral health needs and any aesthetic goals that we can help you to achieve.
We also go above and beyond to make the highest-quality dentistry and aesthetics affordable for patients of all budgets. We accept insurance, offer our own discount program, provide in-house financing, and offer third-party financing. We would like to do the necessary to earn your business initially and your continued satisfaction over the long-term. It is our mission that each new patient becomes our next success story! To experience the difference in compassionate care and effective results that we have to offer, please reach out to us today to get started. We hope to meet you soon!
Appointment Request
A few photos for our dentist to review.
Personalized recommendations and a quote.
Review our recommendations & schedule today!